What Is CNC Prototyping?
CNC prototyping is the process of using CNC machining to create a functional sample or test version of a part before mass production. Unlike 3D printing or manual fabrication, CNC prototypes are made from real production-grade materials, allowing for accurate testing of strength, fit, and performance.
Why CNC prototyping is important
Validates design accuracy
Tests real-world performance
Identifies design improvements early
Reduces production risks
Saves time and long-term costs
CNC prototyping bridges the gap between design and manufacturing.
Step-by-Step CNC Prototyping Process
1. Concept and Design Development
Every prototype begins with an idea. Engineers or designers create a digital model using CAD (Computer-Aided Design) software. This model defines the dimensions, geometry, and functional requirements of the part.
At this stage:
Design intent is clarified
Functional requirements are defined
Potential manufacturing challenges are identified
Clear and accurate design files are essential for successful CNC prototyping.
2. Design Review and Feasibility Analysis
Before machining begins, the design is reviewed to ensure it can be efficiently produced using CNC processes. This step helps identify issues such as overly tight tolerances, unnecessary complexity, or material concerns.
Key review considerations include:
Machinability of the design
Tolerance requirements
Tool accessibility
Material selection
Structural integrity
Addressing these factors early helps prevent delays and redesigns.
3. Material Selection
Material choice directly impacts prototype performance. Since CNC prototypes use real materials, this step ensures the prototype behaves like the final product.
Common materials used in CNC prototyping:
Aluminum for lightweight testing
Steel or stainless steel for strength validation
Brass or copper for electrical or mechanical testing
Plastics for form and fit analysis
Choosing the right material ensures accurate testing results.
4. CNC Programming and Toolpath Creation
Once the design is finalized, CAM (Computer-Aided Manufacturing) software converts the CAD model into machine-readable code. This program defines cutting paths, speeds, tool selection, and machining sequences.
This step ensures:
Accurate material removal
Efficient machining operations
Reduced tool wear
Consistent part quality
Proper programming is critical for precision and repeatability.
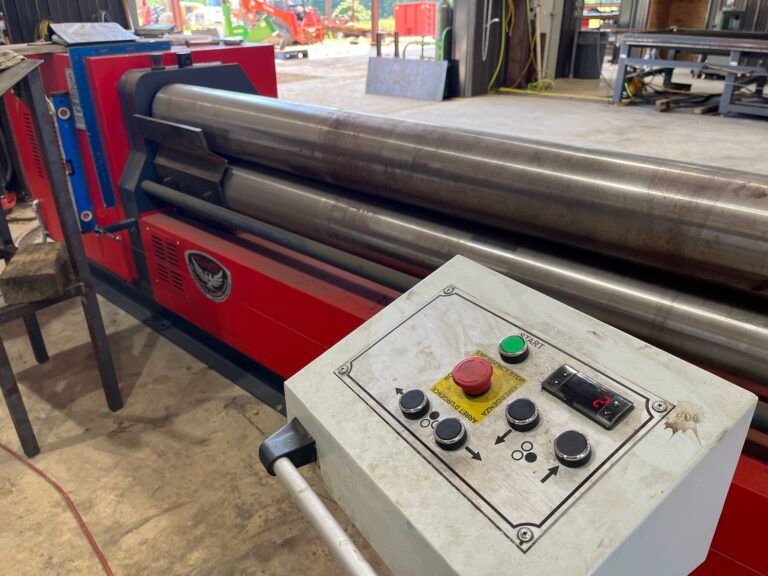
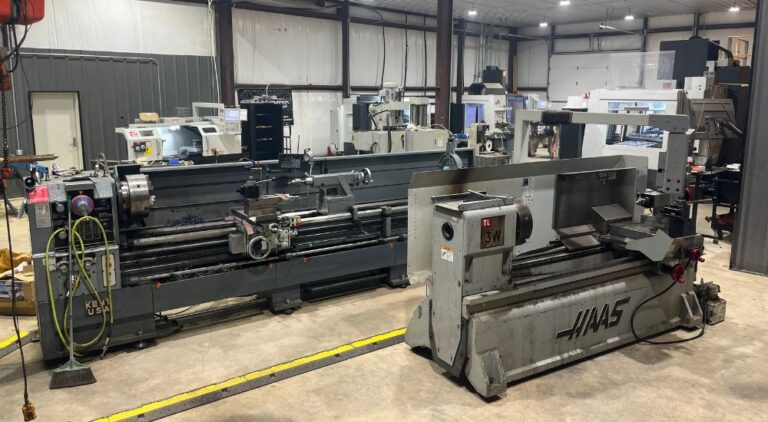
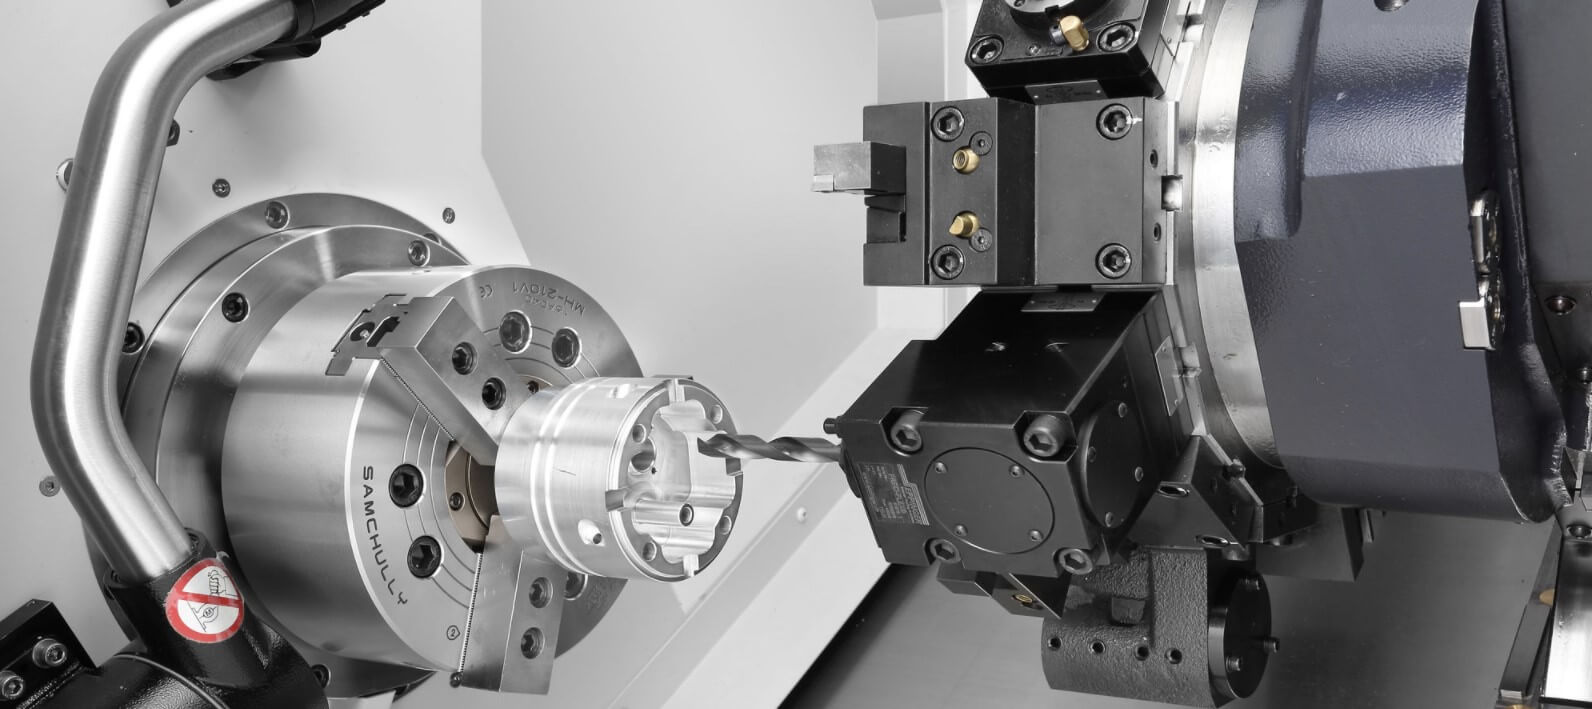
5. CNC Machining of the Prototype
With programming complete, the CNC machine begins fabricating the prototype. Automated cutting tools shape the raw material according to the digital instructions, producing an accurate physical part.
Benefits of CNC machining for prototypes:
High dimensional accuracy
Smooth surface finishes
Tight tolerance control
Fast turnaround times
This stage transforms the digital concept into a tangible, test-ready component.
6. Inspection and Quality Verification
Once machining is complete, the prototype is inspected to ensure it meets design specifications. Measurements are checked using precision tools to confirm dimensional accuracy and functional fit.
Inspection may include:
Dimensional measurement
Fit testing with assemblies
Surface finish evaluation
Functional performance checks
This step ensures the prototype is ready for real-world testing.
7. Testing, Feedback, and Design Refinement
After inspection, the prototype is tested in its intended application. Any performance issues or improvement opportunities are documented and used to refine the design.
Possible outcomes include:
Minor design adjustments
Material changes
Tolerance refinements
Transition to final production
CNC prototyping allows for rapid iteration without sacrificing accuracy.
Advantages of CNC Prototyping
Why businesses rely on CNC prototypes
Faster development cycles
Accurate real-world testing
Reduced production errors
Improved product performance
Smooth transition to mass production
CNC prototyping ensures confidence before committing to full-scale manufacturing.
CNC Prototyping vs Other Prototyping Methods
Compared to 3D Printing
CNC uses real production materials
Stronger, more durable parts
Better for mechanical testing
Compared to Manual Fabrication
Higher accuracy
Better repeatability
Faster turnaround
CNC prototyping delivers superior results for functional testing and production readiness.
Conclusion
CNC prototyping is a vital step in modern manufacturing, allowing businesses to transform ideas into precision-tested components before full production. By using CNC machining for prototypes, companies gain confidence in design accuracy, material performance, and overall functionality—reducing risk and improving final outcomes.
For reliable CNC prototyping and precision machining services, contact Steampunk Fabrication. Proudly serving Hazlehurst, our skilled team supports your project from concept to completion with expert craftsmanship and dependable CNC solutions.